Making instruments
If you want to explore music with your grandkids, making musical instruments with them is a fun way to start. When they make even a small variety of instruments, they can learn about different sounds and timbres, and start to understand basic instrument families like strings, rhythm, and wind.
And it’s easy! Basic shakers are a classic. Just save any shape plastic containers with a lid from the trash or recycling and add various materials to them—beans, marbles, buttons, bells—and securely close them. (Clean and dry them first, obviously.) Screw tops are easiest, but you can securely tape cottage-cheese-type containers as well. And voilá! Use a variety of vessels and contents, and already you have instruments that make different sounds.
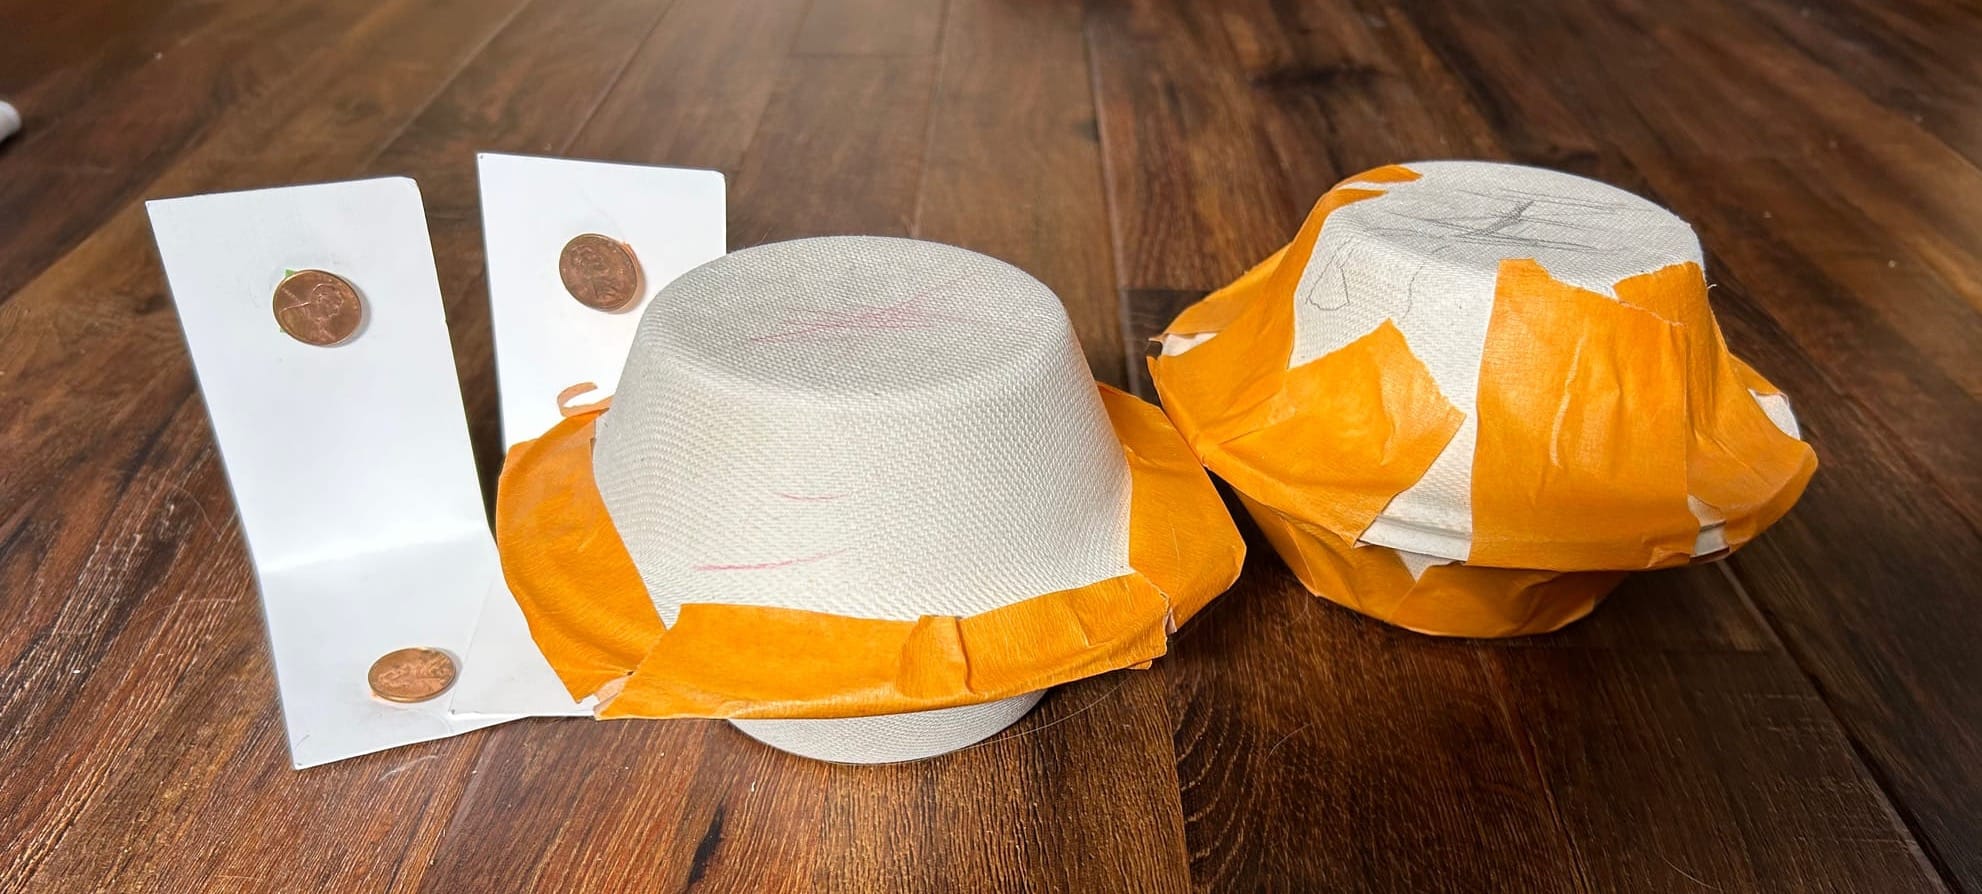
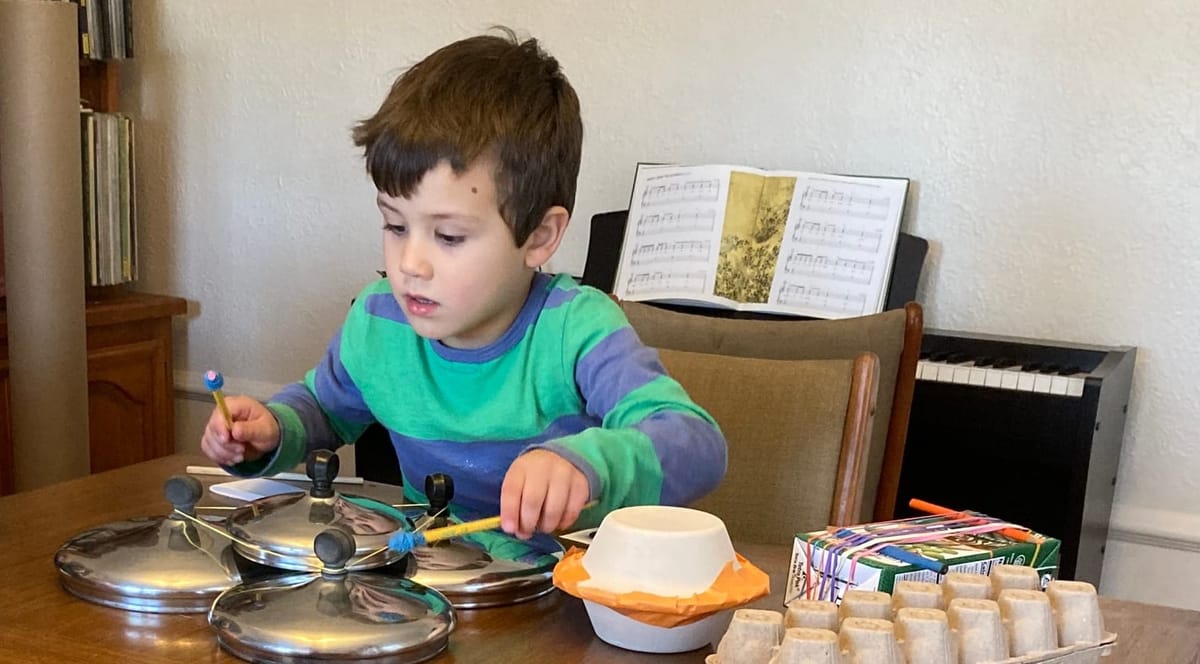
You can make shakers from many other found objects, too. The ones pictured here use two paper bowls, a few beans, and a thorough-going amount of masking tape. These make a gentle sound; use plastic bowls or plates for a sharper tone. TP or paper towel tubes add a satisfying slide to the sound. What you use to cap the tube ends will make a difference, too. Possibilities: Try tin foil (probably doubled for strength? I haven’t tried it), milk bottle caps, cardboard, balloon skins—whatever you have on hand. Decorating the shakers can be part of the project, too.
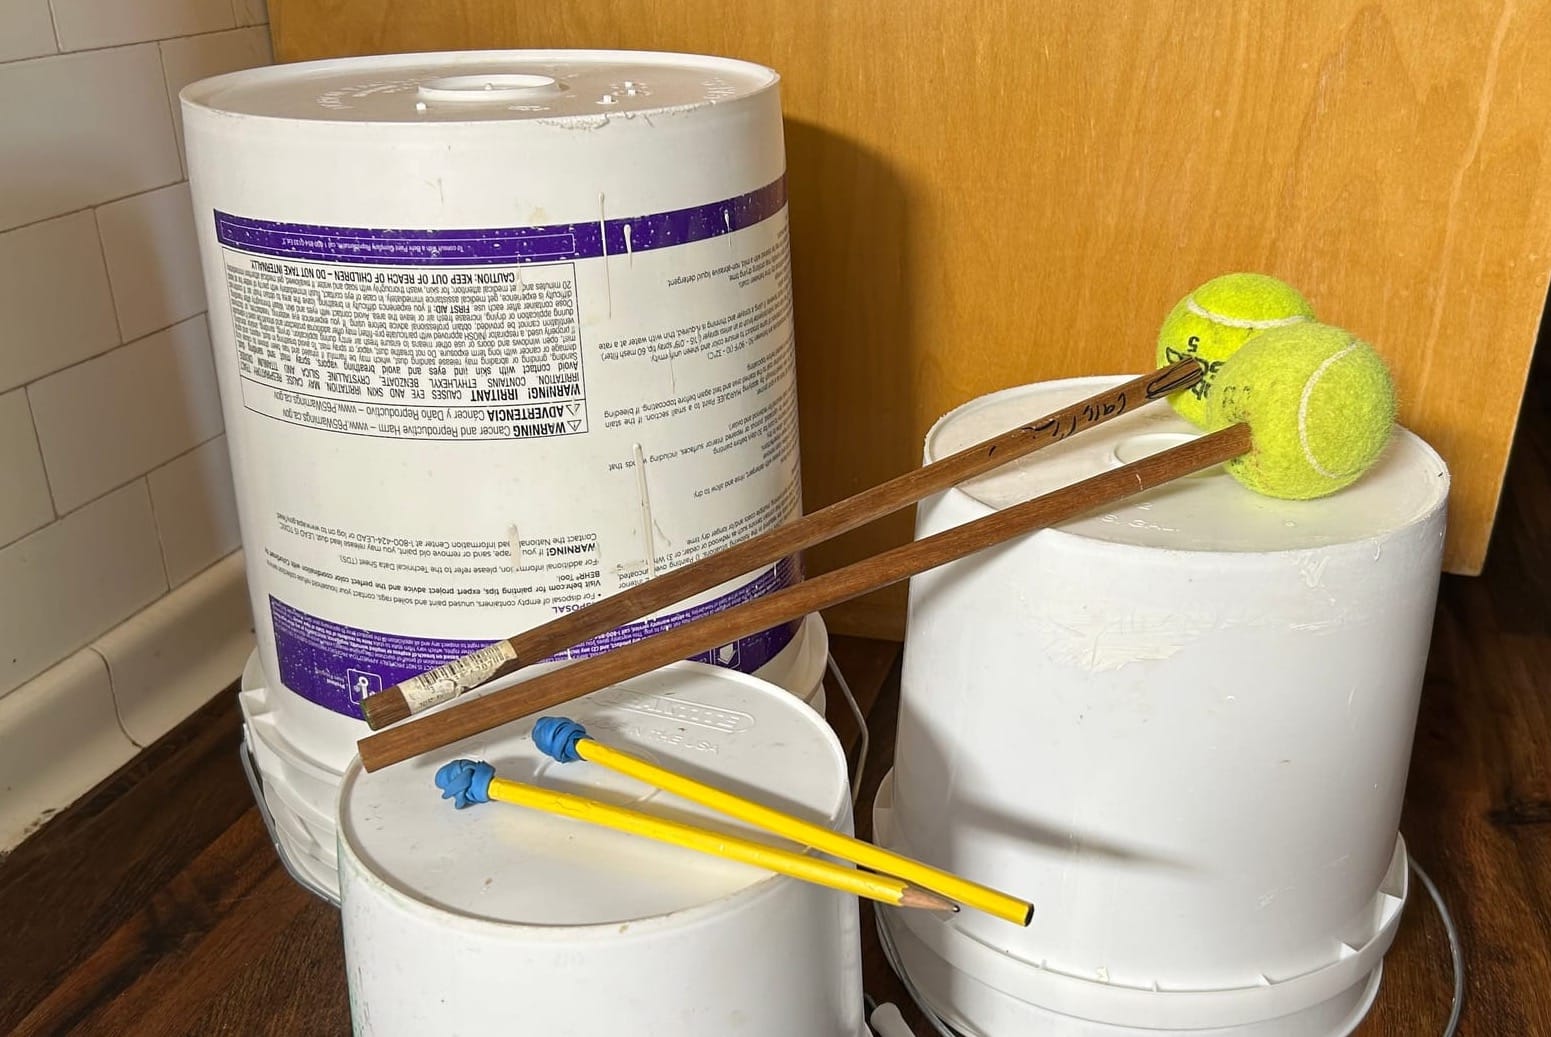
The book “Make Music!: A Kid’s Guide to Creating Rhythm, Playing with Sound, and Conducting and Composing Music” inspired me to branch out to a greater variety of instruments. It’s a fantastic book, with ideas for toddlers through grade school. Among the great ideas: excellent padded mallets (drumsticks) from a dowel and old tennis balls, and repurposed plastic buckets for a drum kit. Another tip from the book: For a bigger sound from the plastic-bucket drums, have the drummer put their shod foot (or some object) under one side of the drum. To drum on smaller percussion instruments (such as the paper bowl shakers, used as drums), make a small mallet by wrapping a rubber band around a pencil. The small mallets have a nice feel, but heads up that they won’t survive very enthusiastic drumming.
Young kids can use their home-made mallets to explore lots of other ways to make sound, too—hitting the couch with a mallet makes a different noise than bonking the banister or the radiator. This activity is fun outside, too. Your grandkids might enjoy the glorious fence music they can make on the cage at a local baseball field, for example. (For exploration use of mallets, it’s helpful to use the padded ones. Still, you obviously need to set limits on this experimentation: Know your grandchild, and yourself!).
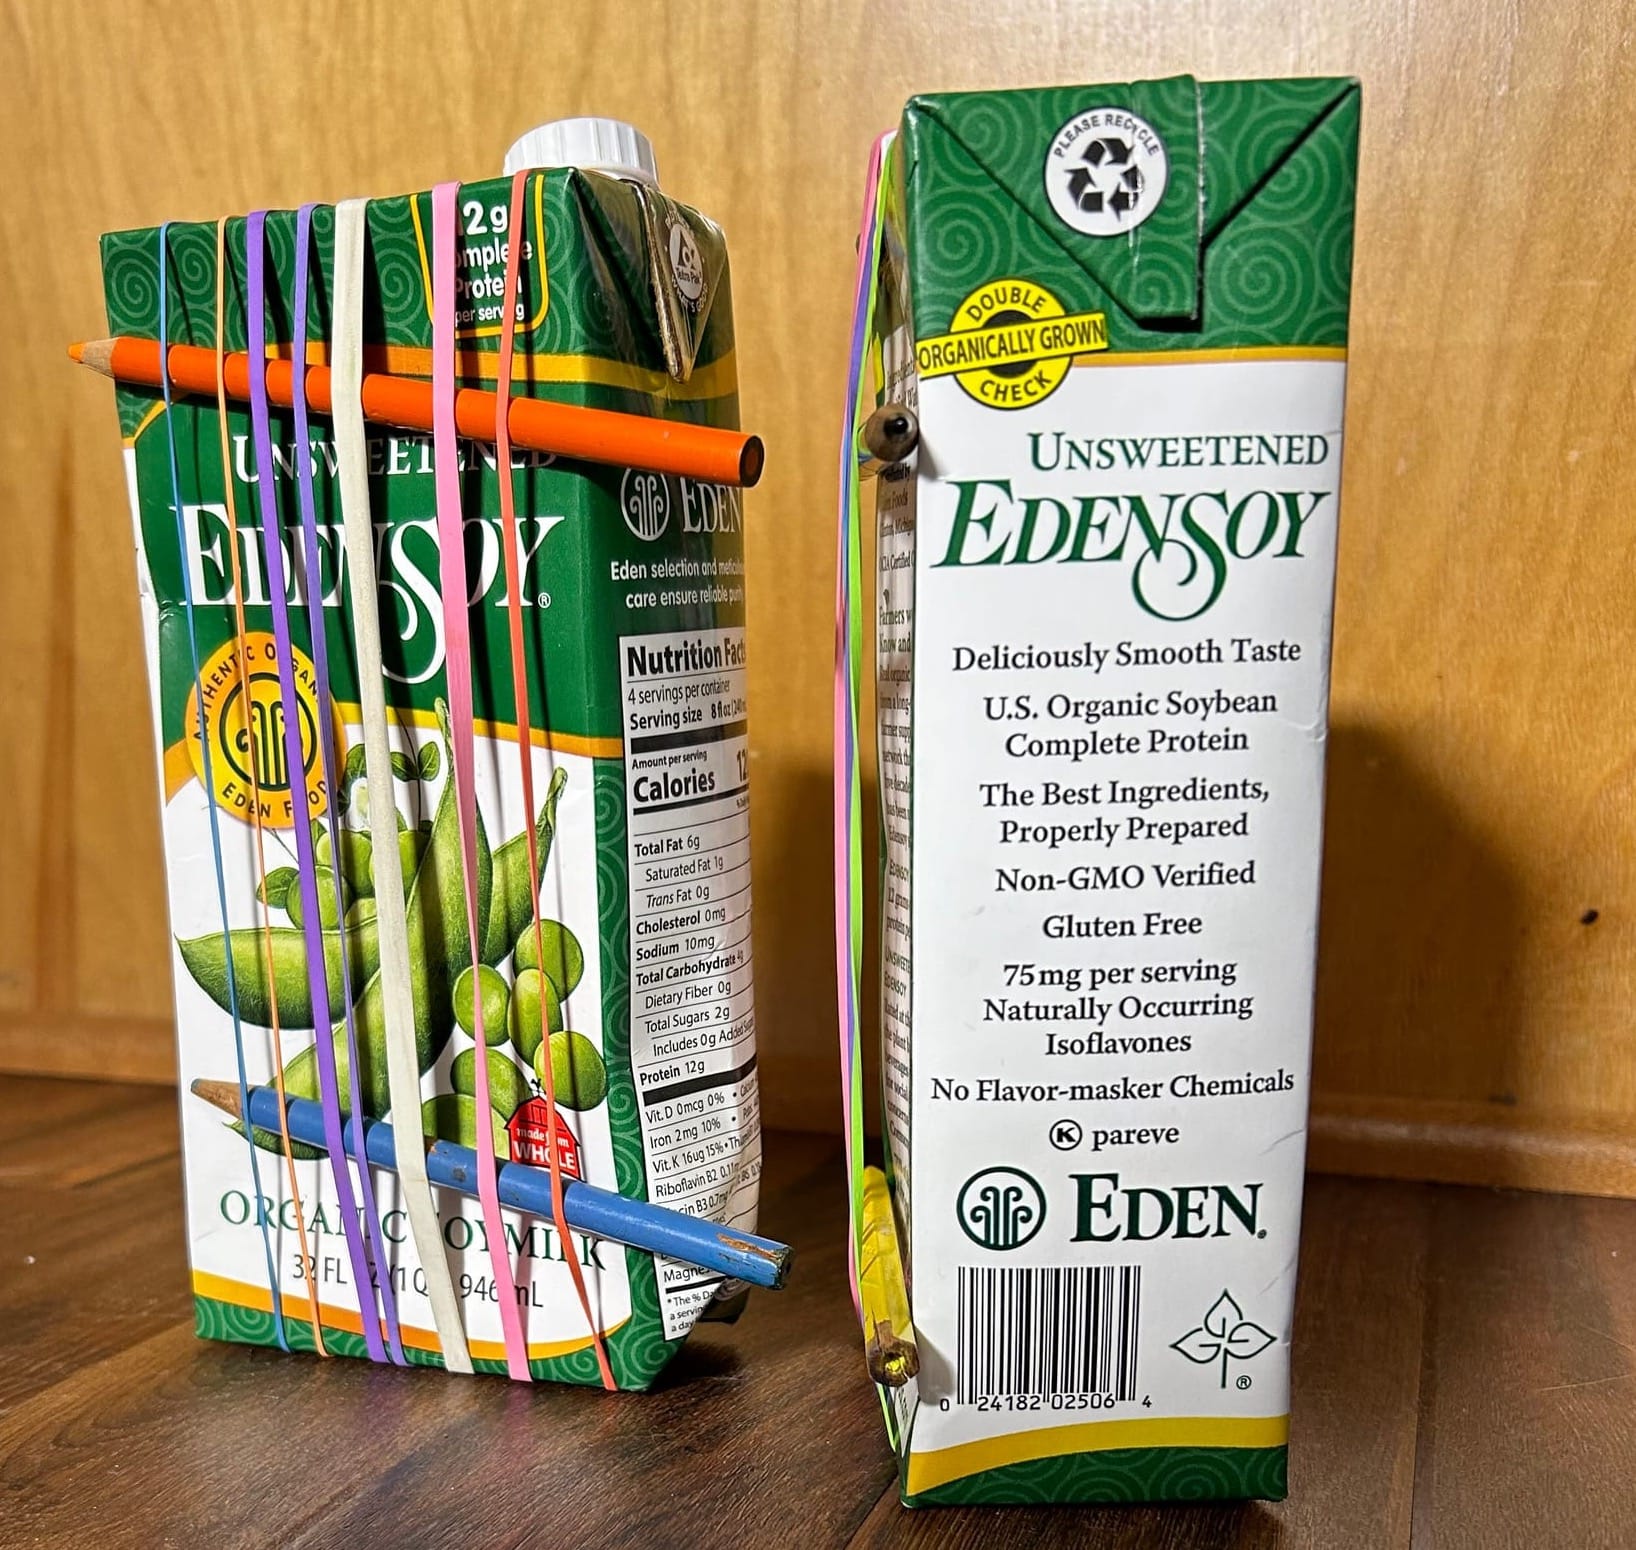
And there’s no need to limit yourself to percussion instruments. We made “guitars,” again based on an idea from “Make Music!”. The ones we made can’t be tuned. (The book shows how to make a more complex version if you want the grandkid to be able to play recognizable melodies or chords.) But even with our primitive setup, the kids can learn some basics of string instruments—thinner rubber bands make higher pitch, the pitch changes when you press on the rubber band, and so forth. Plus, the guitars are fun to strum, and needed for forming a (pretend?) band with your buddies.
Another classic is a water xylophone (filling glass jars to varying levels to vary the pitch)—an opportunity to use those rubber band and pencil mallets. And for the very youngest, remember that they love banging on pots, lids, and other safe kitchenware—and that these are amazing early learning activities.
Once you have made your instruments, save them so you can pull them out for music-making anytime. We used our collection to amp up our “Happy Birthday to Grandpa”—a joyful noise, and almost in rhythm!