Needle-felting a mobile for baby
Daughter L wanted a mobile for her baby, but when she showed me the $200+ price tags on the handcrafted ones she liked, I gasped—then decided heck, I can make one!
Then the problem…I’m not practiced at crafts. To the rescue: Needle felting. Needle felting wool is a bit like molding clay—the basics are doable, and you can often fix mistakes. This forgiving nature means that people just starting can make gift-worthy creations with just a little practice. It also means there’s a side-benefit for grandparents: Your grandchildren can do needle felting, too, if they are old enough to be very careful with needles.
So one grandson and I launched into needle felting, starting with this video and a few supplies: a felting needle, which has barbs in it to snag the wool, tangling the fibers and turning them to felt (or a few needles, actually—they unfortunately break fairly easily); a mat, which can be as simply as a piece of foam (the soft kind, not Styrofoam); and felting wool in various colors.
The basic technique is to poke the yarn with your felting needle. The longer you poke, or the more you concentrate your poking in one place, the more densely knotted the yarn becomes. If you make some parts of your piece dense and some loose, you create different patterns and textures. With lots of poking, you can make dense lines. You can make the piece very firm, or leave it fluffy. You can leave areas barely felted, giving a wispy effect.
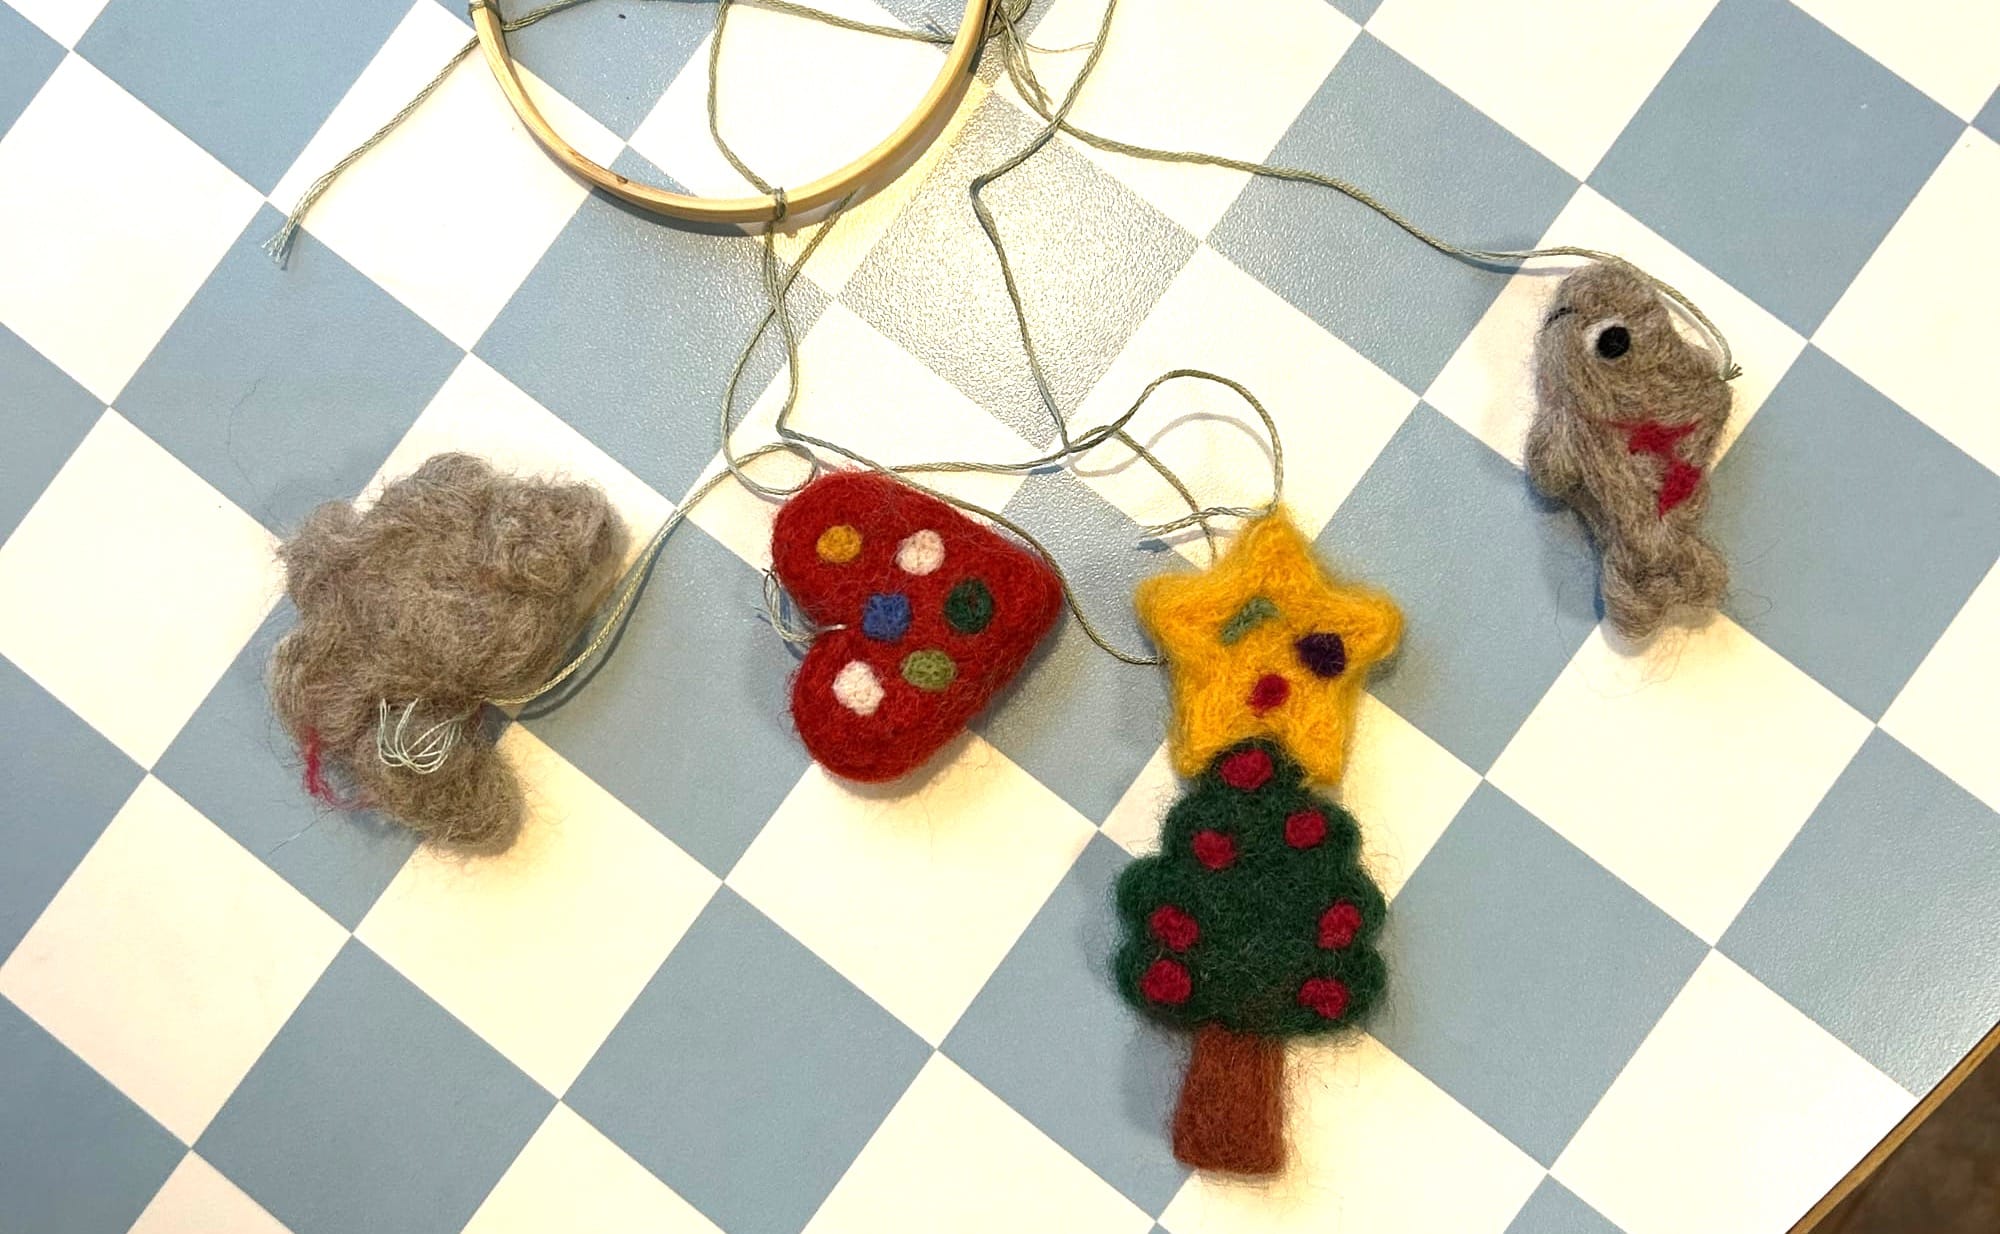
For beginners or young children, following the video creator’s advice (above) to use cookie cutters to provide a form for the wool leads to great results. Grandson, just 6 years old, made sweet little felted objects using our cookie cutters—a heart, a sheep, a fish, a Christmas tree, a star—in just a couple sessions. (He needed a little help felting in the smaller areas, like the tips of the star). He made his pieces fancier by adding needle-felted eyes, dots, splashes of color, etc. Adding detail is also much like working with clay: To make a dot, roll up a pinch of yarn, set it on your main piece, and poke it with your felting needle to attach it. To make a line, like the smile on Grandson’s fish, twist a tiny amount of yarn into a string, and then poke that on.
After baby cousin was born, Grandson decided to turn his felted pieces into a mobile for her. (Kudos to Grandson: Giving things away is hard!) This tutorial shows the basics of putting together a simple mobile you can use to hang objects of your choice. All you need is the inner circle of an embroidery hoop and some embroidery thread or other yarn or string. But I also used a simple circular key ring. It’s nice for hanging the mobile later, and it lets you easily adjust the balance of the pieces as you add them, and check on spacing and heights. To do the additions and checking, tie the top threads to your embroidery hoop before adding any downward-hanging strings or objects. Next, link the top threads with the key ring (or a carabiner), and hang the empty hoop from something high by the key ring/carabiner. Then add objects one by one, adjusting as you go.
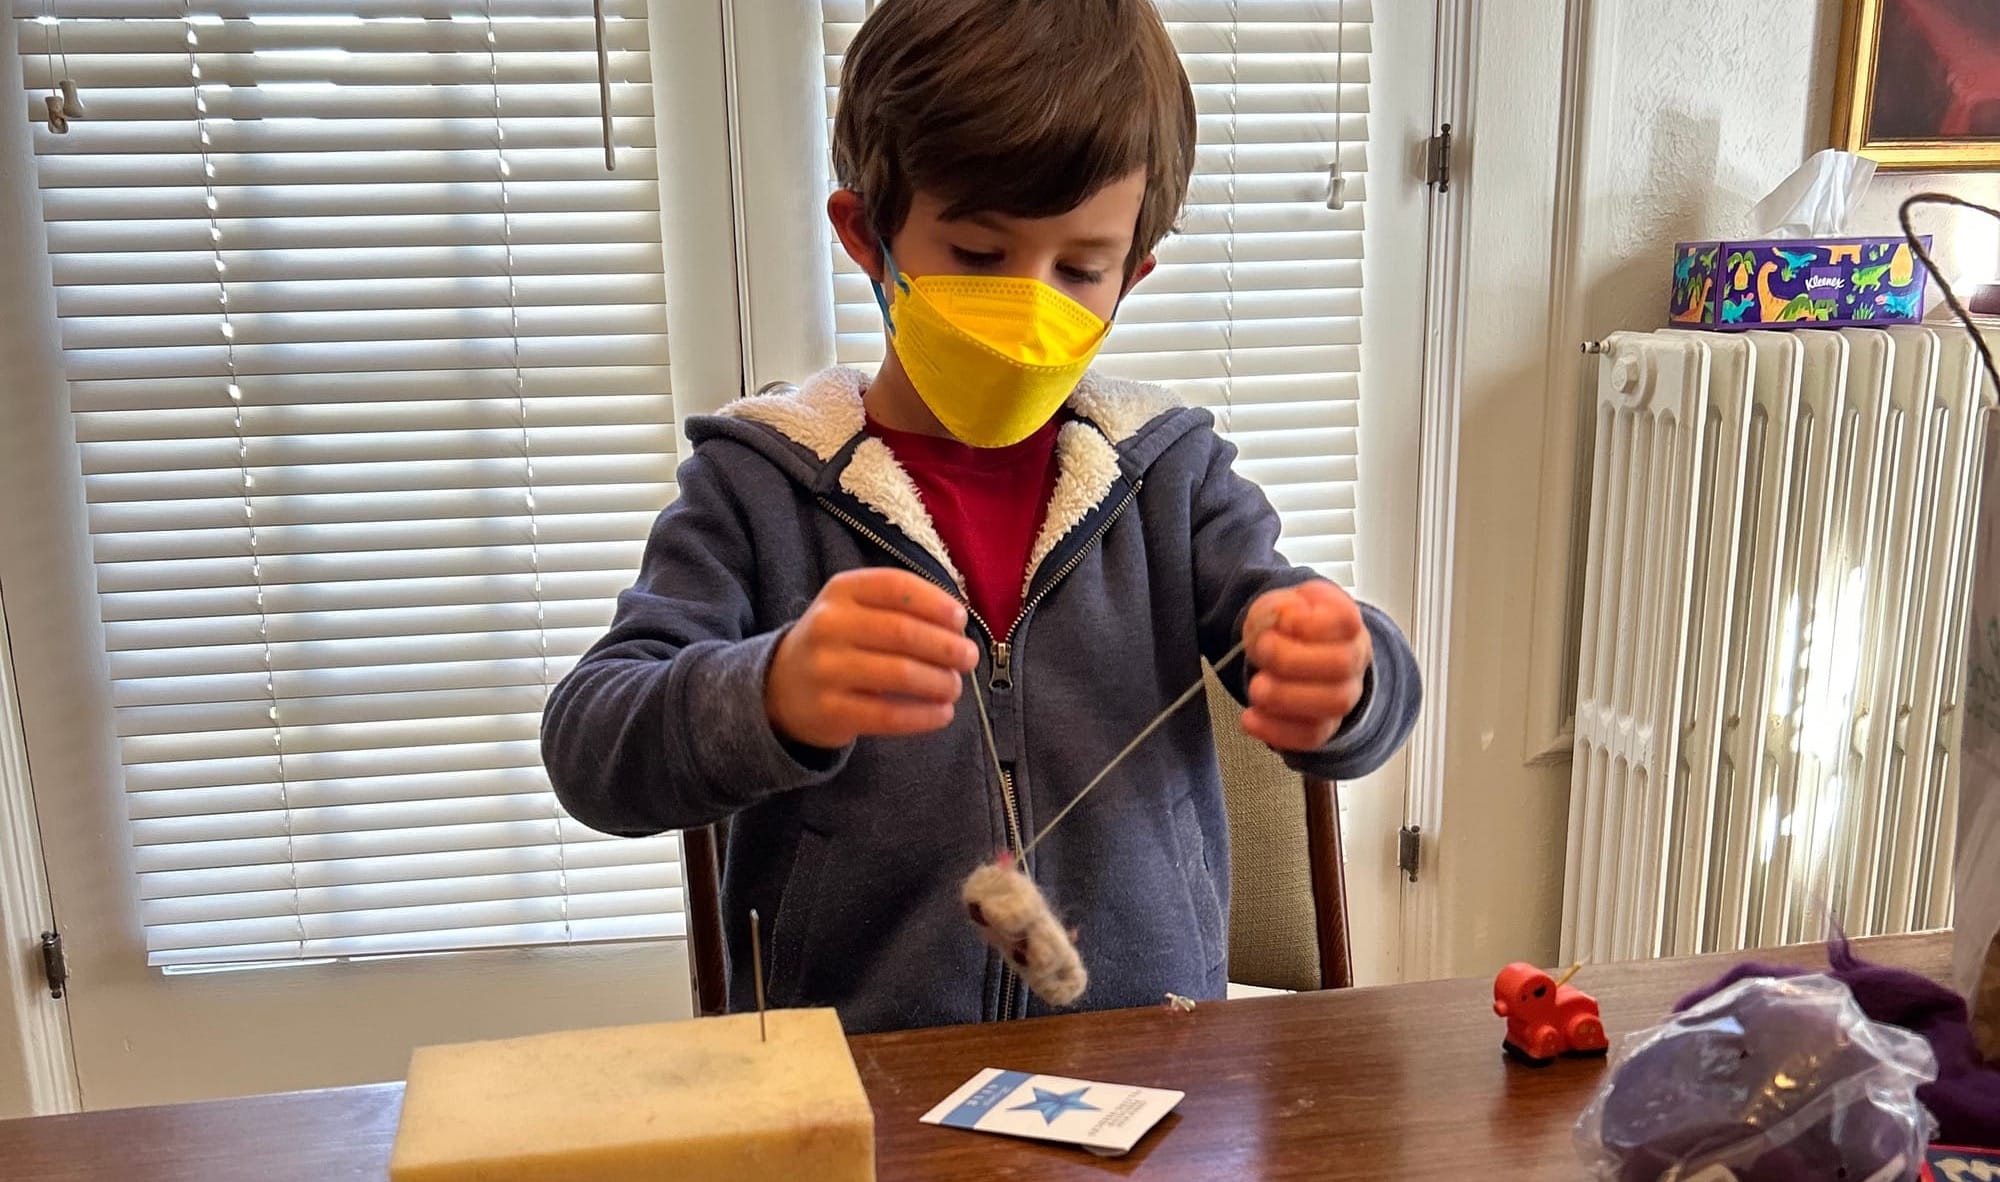
After Grandson and I got his empty mobile hanging, I showed him how to use a large-eyed yarn needle to pull embroidery thread through each piece (see above). He took care to place the thread so the piece would balance in the position he wanted it. He needed help tying the pieces to embroidery hoop, but he made the decisions about spacing, height, and balance.
Being a little more patient than Grandson, I got fancier with the pieces for the mobile I made. In fact, it took me a couple months of snatching moments to finish all of them.
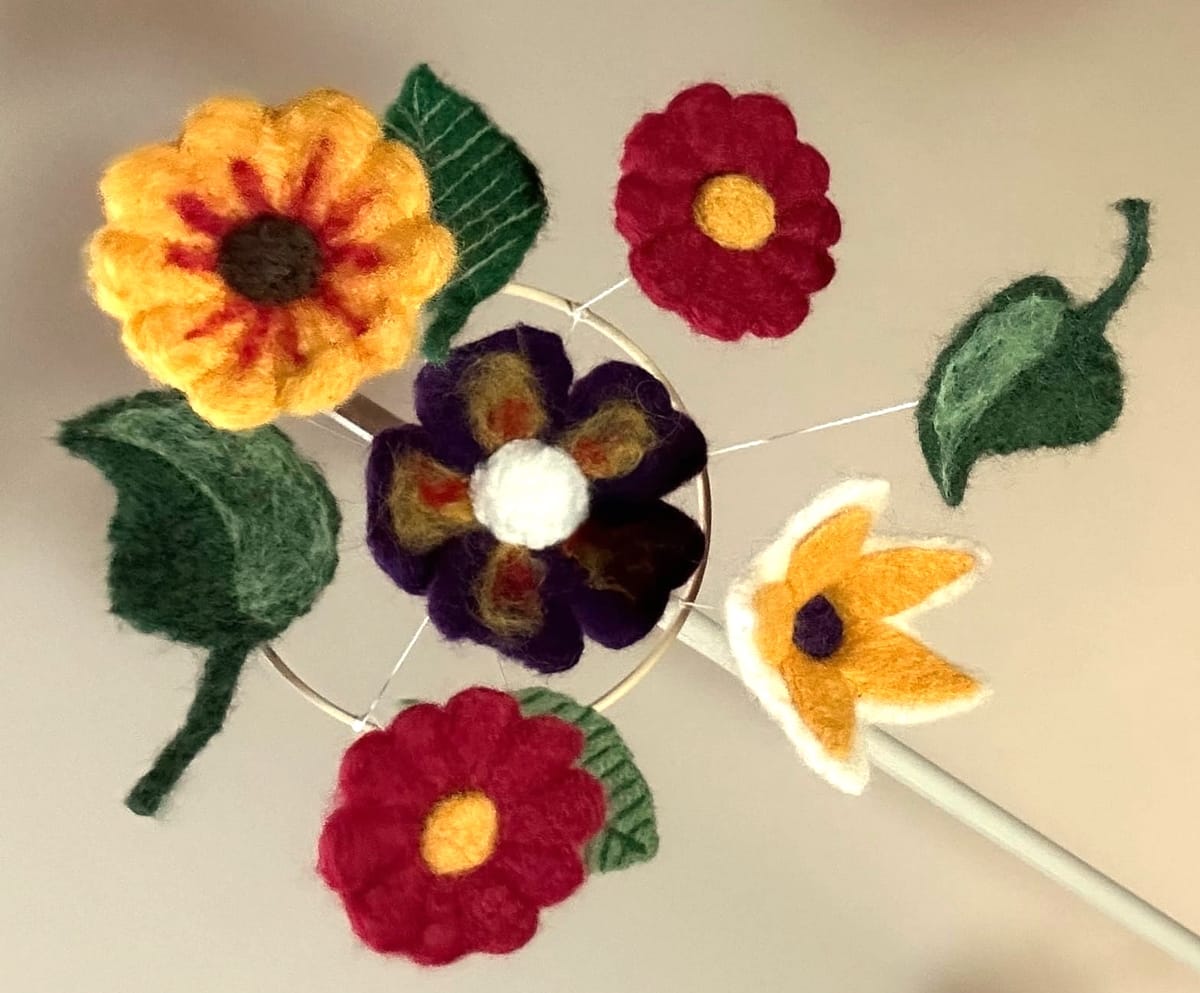
For inspiration, I searched “Needle-felted flowers” online, which yielded many options for styles, patterns, and how-to videos. But once I got some ideas, I went pretty much on my own, relying on the pliability and forgiving nature of the wool and the felting process. Just by observing what others had done with their flowers, I could see how to make petals by indenting lines (the pink and yellow flowers), by crafting petals from a single piece (the white one), or making each petal separately (the purple one). I made the leaves free hand, but another option is to trace a real leaf, cut out the leaf shape, and use the opening as a pattern (see photo of oak leaf made this way; and thanks to artist sister Sarah for the idea!). The leaf veins are made in one of two ways: like the smiles on Grandson’s animals—twisting strands of yarn and then poking them into place, or simply by felting deep lines into the wool. You can see example of color layering in the leaves. (You can also combine colors by hand-blending different colored wools, giving a variegated look.)
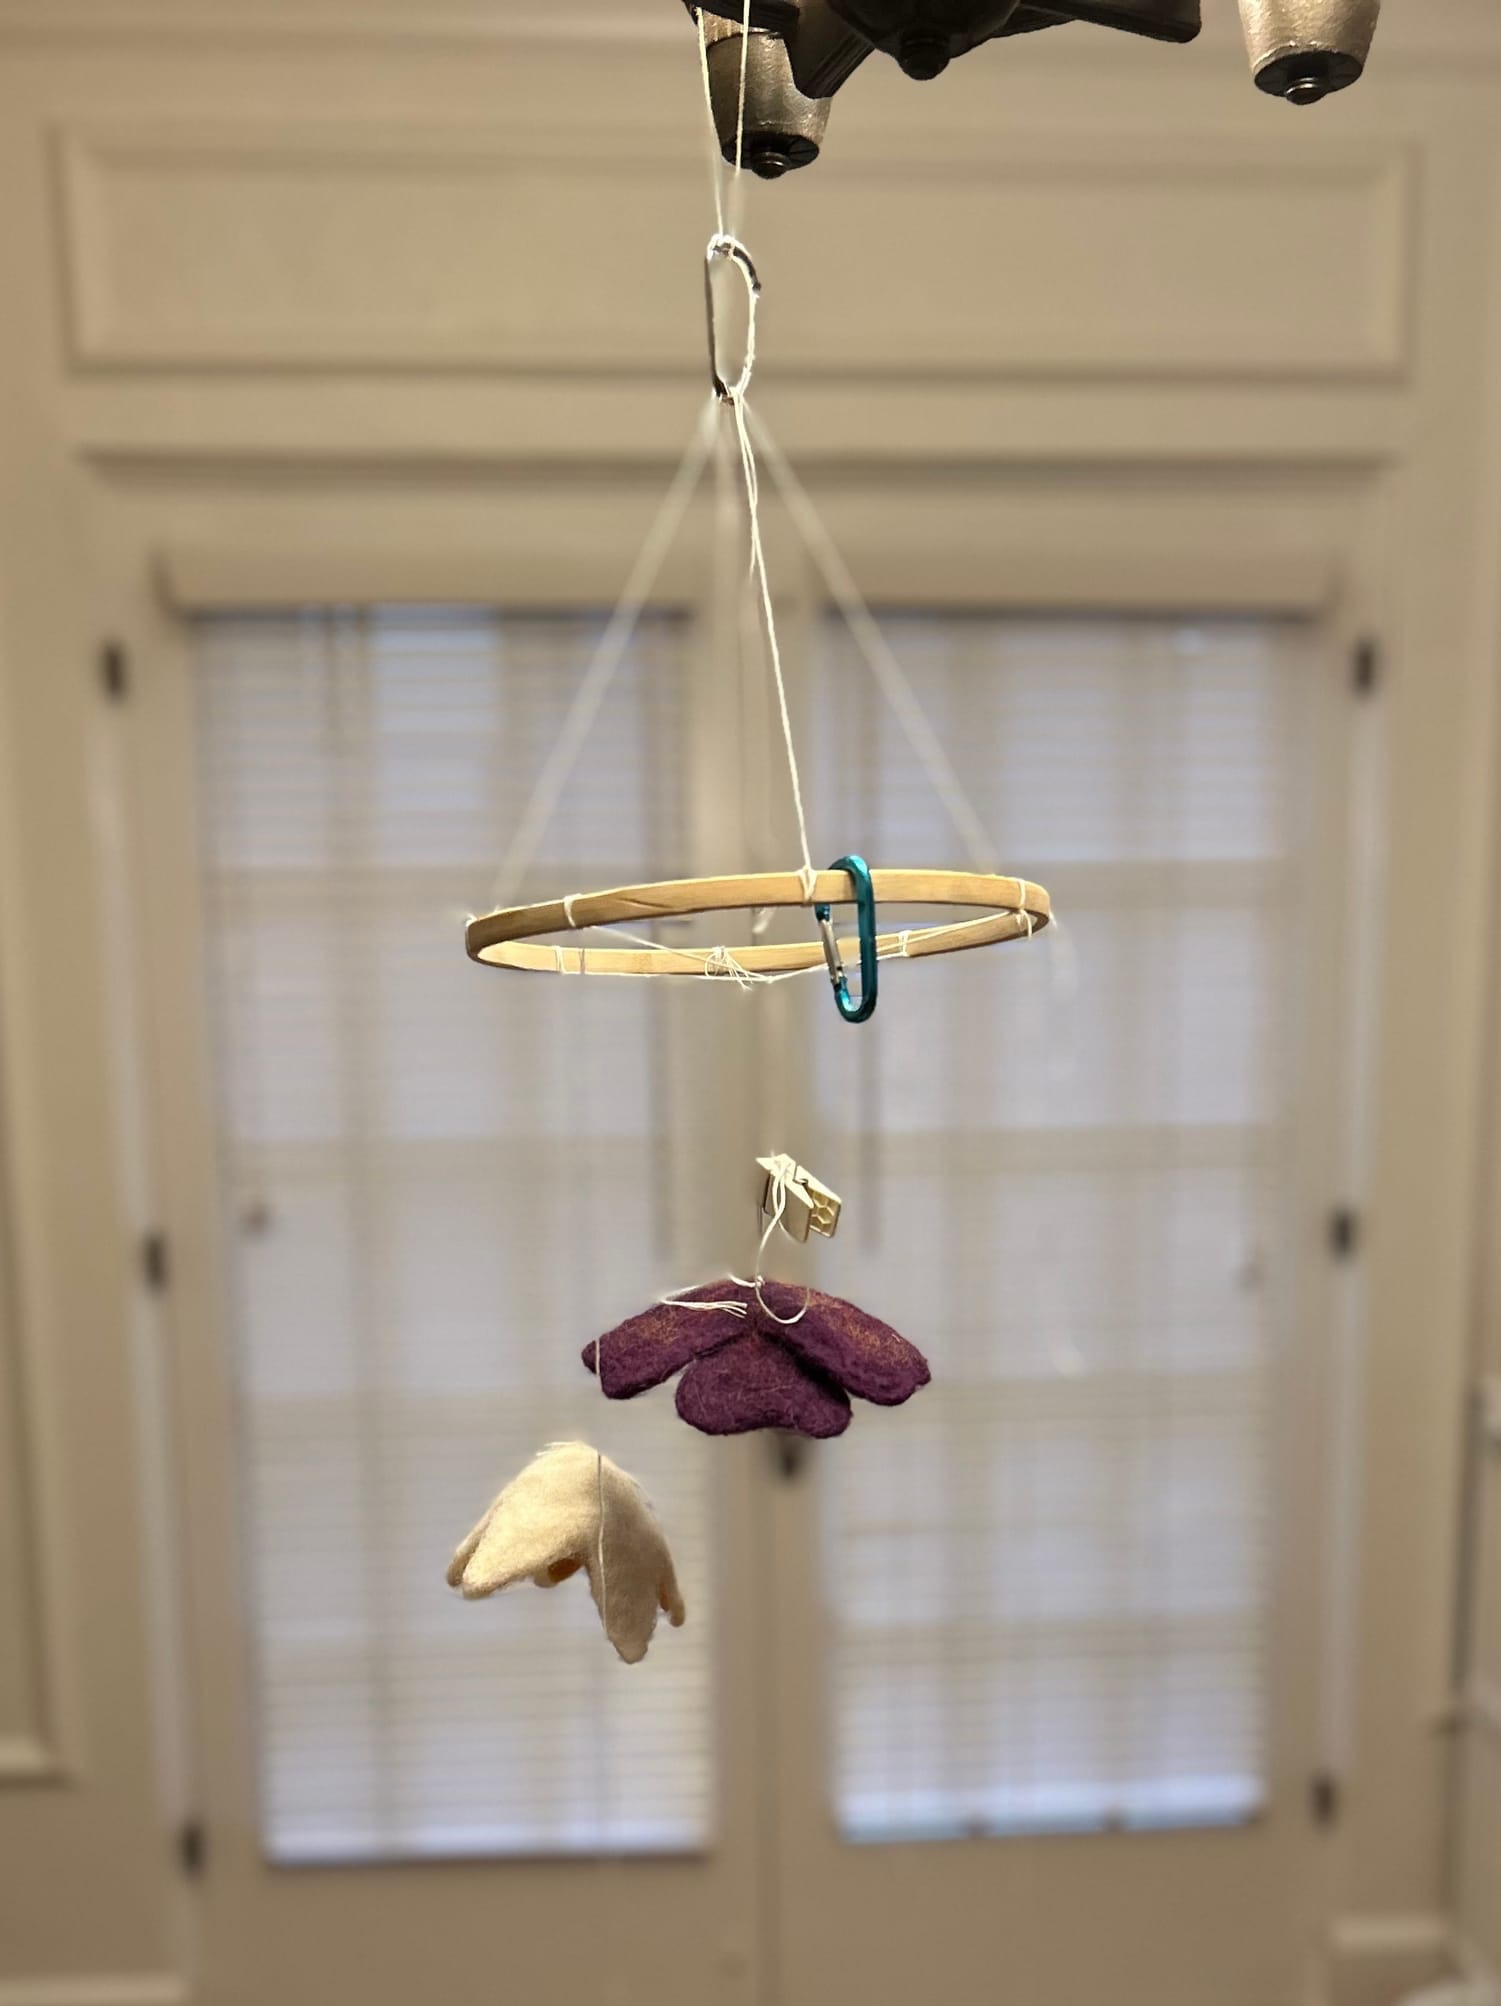
Hanging the pieces was basically like hanging the pieces for Grandson’s mobile, except that I paid more attention to getting the baby-eye view, which, for this mobile, is from underneath. You can see in the photo above that I also used a small clothespin to experiment with different lengths of string, and an extra carabiner for weighting. For catching her attention as her vision skills develop, I wanted the pieces to have a variety of colors and contrasts, along with different distances and orientations for focusing practice.
Important! Mobiles like the ones Grandson and I made must always be well out of baby’s reach—they are ONLY for looking, no touching! They are a risk for choking or tangling, not to mention the toxic plastic in Grandson’s.
Now that Grandson and I have the materials and the basic techniques, we’re also prepared to branch out: ornaments, gifts, mittens, pillows…or maybe a felted No Kings button! One of these years, maybe Baby Cousin will want to join in, too.